Photoplay 2000 to MAME Arcade Cabinet
This was a project I wanted to do for a long time, so when I found this cabinet I didnt doubt it...The cabinet came almost empty with a few cables the speakers and the light for the merquee.
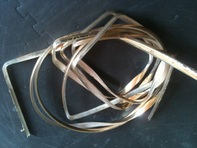
And that is the wireing. At first I used a PS2 controller form and old keyboard.

It was impossible to find a 20 inch screen. I ended up putting a 19 inch screen I took from an old PC monitor I got for free. I got a 21 inch screen as well but it was too big.
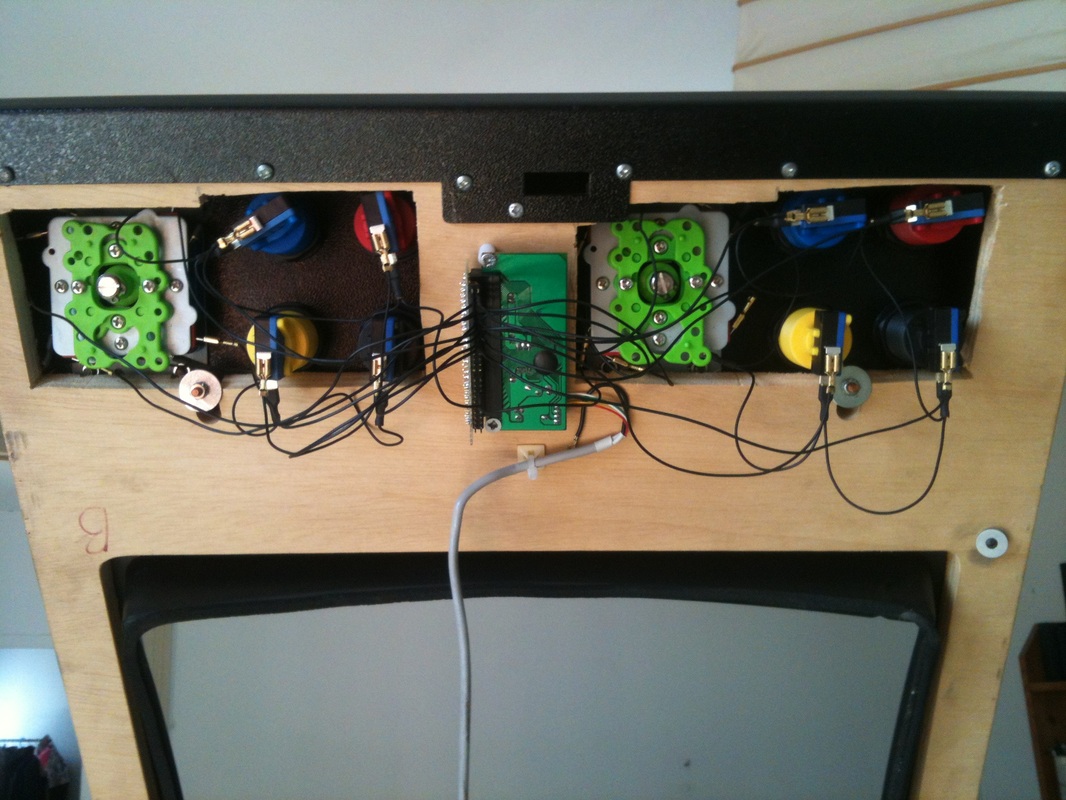
The PS2 controller wasnt enough. There was a lot of key-ghosting going on so I decided to add a Logitech joypad board for the 2nd player.
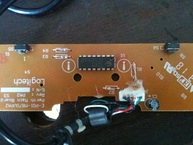
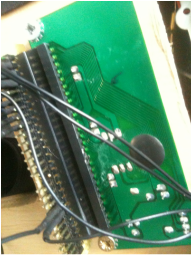
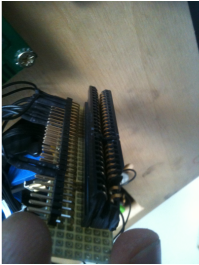
Theres a socket soldered on the board and the doughter board plugs in there.
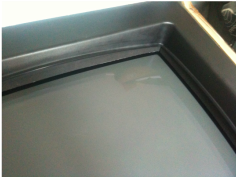
The original t-molding had to go. It was in a very bad condition also the color (golden) was awful.
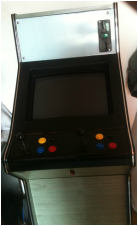
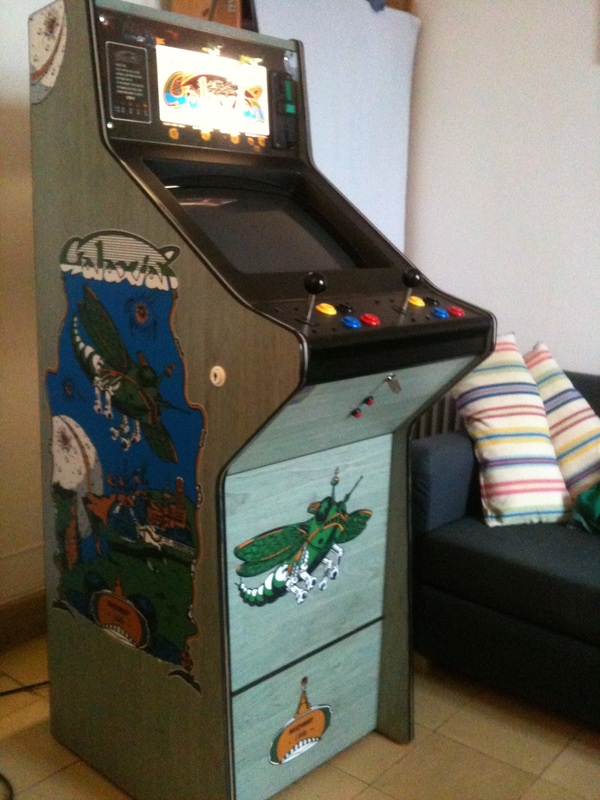
The cabinet getting finished. The plexiglass for the marquee is already in place. A couple of extra buttons added beneth the control panel: player 2 coin, quit game.

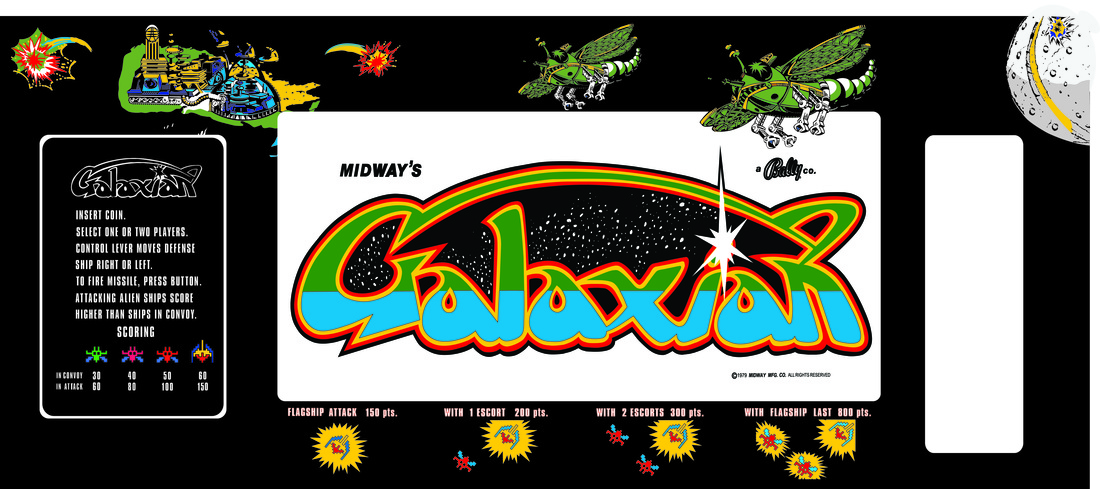
Here is the artwork for the cabinet side panels. The classic Galaxian (US version).
|

I Used an old Pentium 4 machine I had laying around. I like to play classics games so this should be enough to power the MAME 106... I fit all on a wooden tray to be able to slide it in and out easily.
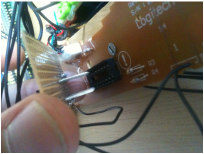
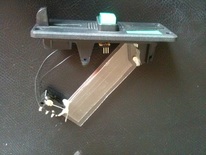
I made an adapter to avoid soldering. The wires have terminals crimped on its ends and plug into the adapter.
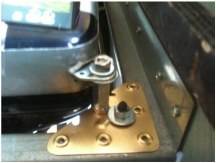
Of course I had to adapt the mounting points for the tube... I placed one of this on each corner of the mounting frame. 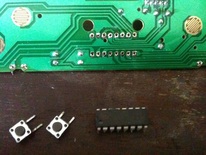
Again, no soldering. The Idea is replace all this with an i-Pac or similar. I made a small daughter board adapter which plugs into the board.
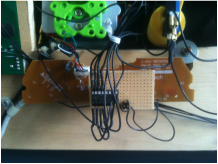
And there it is in place and all connected. I have Player 2 controls wired to this one and the rest wired to the PS2 controller. Still some key-ghosting sometimes...
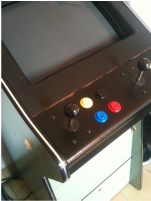
The new t-molding looks much better. It remind me a piece of furniture I had as a kid :). Also added the "Player" buttons on the side of the cabinet.
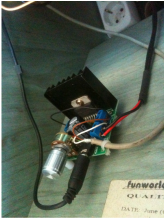
For the sound I reused the original speakers and I got this little amplifier from china. Sound is ok, theres some interference from the screen though. I'll have to look at that sometime.
And this one for the marquee.
|
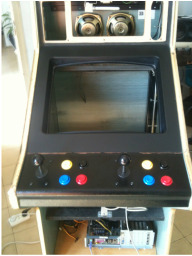
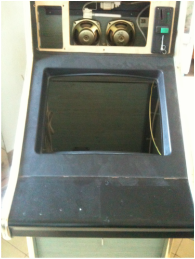
This is the cabinet with the controls aready fitted in. Originally the Photoplay it has a touch screen so no buttons or joyisticks.
The adapter plugs into the controller by an edge connector salvaged from a ZX Interface 2
It came up pretty good. So far a very solid and stable construction. 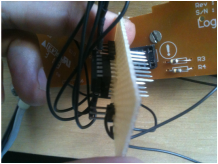
On the top of the daughter board is the original chip and some pin headers to plug the cables coming from the joysticks and buttons.
Of course the bezel didnt really fit to the screen. I added some adhesive rubber to fill the gaps...
I also improvised a solution for the coin mechanism. It works well with most coins and also you can get credits by pushing the return coin button.
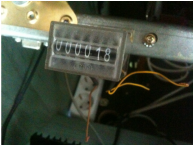
The origina coin counter was included too, so I thought was a good idea to make it work. A relay wired to the coin mechanism sends a 5v pulse every time you insert a coin or press the button for credits.
|
